1. Create a new document. My settings: 12 inch by 12 inch 300ppi
2. Open two papers, one for your main paper and another that will be used as an overlay. I've used papers from Gab's Art. You're also going to open up a BLACK, WHITE, AND GRAYSCALE overlay (if you're overlay isn't grayscale just go to Image > Adjustments > Desaturate. I'm using an overlay that I made. You can download it HERE to follow along to the tutorial.
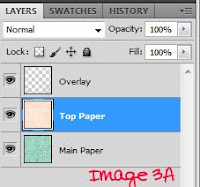
3. Paste both papers and your overlay into your new file each in their own layer as shown below. (Image 3A)
4. Next we're going to click on the overlay layer and then go to the top and hit "Select" > "Select All". (You should see marching ants all over the place) Then jump over to "Edit" > "Copy" or "Ctrl+C". So now we've got all of this layer copied so now we can hit "Ctrl+D" to deselect and then delete that layer because we've got what we need from it.
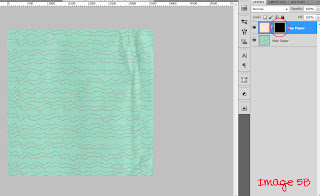
5. Now we only have two layers, Top Layer and Main Paper. We're going to click onto the "Top Paper" layer and then hold the "Alt" key and click on the layer mask button at the bottom of the layers palatte. This opens a "Hide All" layer mask. (Image 5A)
 You'll see a "little black square" appear next to your "Top Layer" preview square in the layers palatte and your top paper will be hidden. (Image 5B)
6. Next, hold the "Alt" key and click that "little black square" that we just talked about. Your mask preview will show up and should be all black. Basically everything on your top layer is hidden, for now (Image 6A)
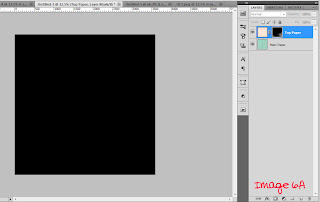
7. Now click "Ctrl+C" and paste that overlay into this layer. Don't worry guys we're almost there. (Image 6A the second lol)
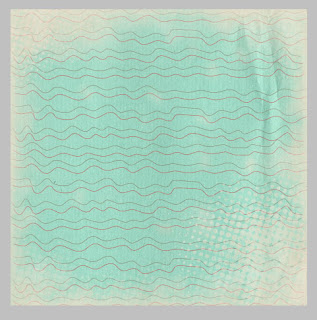
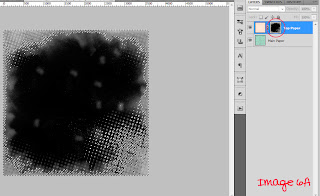 8. Last but not least, hold the "Alt" key and again click that "little white square" to exit the mask preview mode and TA-DA! You're done! Smile and enjoy your awesome new paper!

1 comment:
Cool, look forward to trying my hand at this as soon as I'm feeling well.
Thanks so much
Judy
Post a Comment